Letter of the Week: Ss
I really loved the book, Soup Day. It's a toddler friendly book about a little girl and her Mom making soup. It talks about all of the different vegetables needed for soup and how they are cut up. The illustrations are bright and cheerful and the text is simple but educational. I will definitely get this book again this winter when it's cold enough to make a pot of soup!
S is for Star
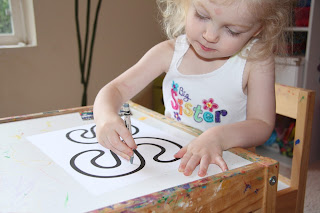
Before we do our letter poster activity, I always have Mia trace the letters with her finger, followed by writing the letter. I never make this stressful and always praise her work.
I am so pleased with how well she is forming the letters!
Mia stuck star stickers to the Ss sheet.
We loved both of these books. Mister Seahorse talks about how several different male fish, including the male seahorse take care of eggs. The illustrations are as beautiful as you would expect from Eric Carle and Mia really enjoyed seeing the different ways all of the daddy fish carried the eggs.
S is for Seahorse
This activity was so COOL. You probably have all of the supplies around your house so I highly recommend doing this soon!.
Supplies: paint (3 different colors), egg carton, sponge and bubble wrap. I simply printed a picture of a seahorse and used it for a guide to draw a large version on a thin piece of cardboard.
Step 1: Let your little one choose a color and paint with a sponge. Try to encourage them to cover the whole picture. (Mia totally hams it up for me now... I kind of love it!)

Step 2: Let your little one choose another color and let them paint with bubble wrap. This works best if the paint is on a plate. Be sure to use the bubble wrap like a stamp- push down and pull up.
Step 3: Choose a final color and paint with an egg carton. I cut an egg carton in half and it was the perfect size for our project.

Seriously, how cute is this??!
While Mia was working on her project, Naomi painted a seahorse sheet.
She was so proud when I hung her picture up. : )
All of these are great wintery books for your toddler/preschooler.
S is for [homemade] Snow Sensory Bin and Snowman
Yes, we talked about snow when it was 90 degrees outside and it was so much fun!
I saw this recipe for snow on Pinterest and am SO glad we made it!
Supplies need for homemade snow: 3 cups baking soda and 1/2 cup white hair conditioner (I bought the cheapest conditioner I could find and it worked great.)
This really is amazing...it feels cool and will mold into whatever you like. Mia played with the indoor snow for about an hour!

Yes, it was a little messy but so worth it!! I love sensory bins because they set the stage for creativity. At one point, Mia was making cookies and then she ran downstairs and got her little animals and was pretending that they were walking up hills of snow. The possibilities are endless and even if you have to vacuum after, you'll be so happy that your little one spent the last hour being creative rather than watching a show.
We also made a snowman. Before we started the project, I had Mia put the circles in order from smallest to largest. Then, I wrote the letters of her name on 3 of the circles (this will require a much larger piece of paper for most names.).
She then glued them in order. I made a little top hat, bow and carrot nose that Mia glued on.
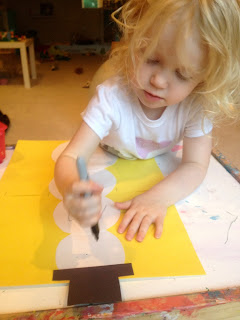
She even got to use the "adult" marker to make the eyes. I did the mouth because she was a little intimidated to try it herself.
After the snowman was put together, we needed to give him some snow!
Puffy snow paint: equal parts white glue and shaving cream

We had so much fun learning the letter S and will definitely be revisiting some of these projects come winter!


0 comments: